How to Change Faces in a Group Photo: A Simple Step-by-Step Guide
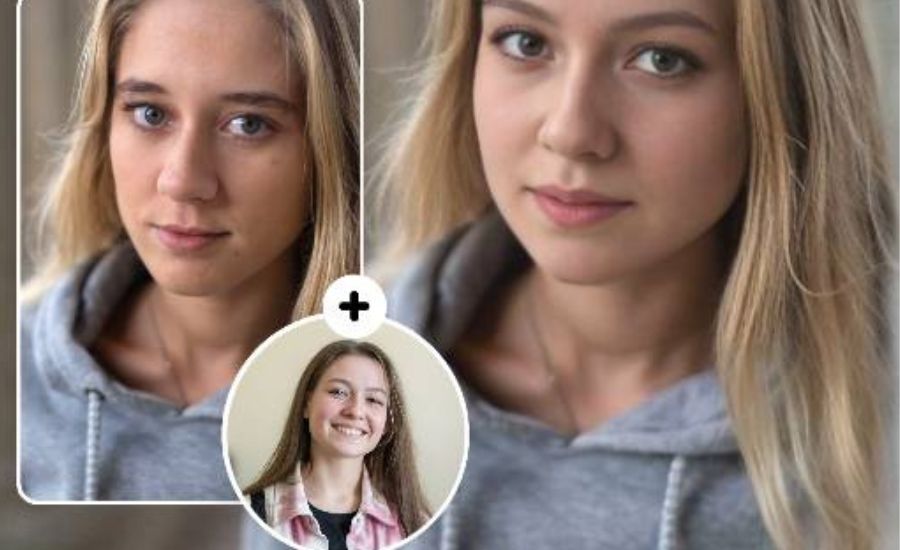
Changing faces in a group photo is an effective way to enhance your pictures. Whether you want to make face swap for fun or fix an awkward expression, doing it the right way ensures a natural and flawless result. In this article, we’ll show you how to change faces in a group photo easily using photo editing tools and techniques.
Why Change Faces in a Group Photo
There are several reasons why you might need to swap faces in a group photo. Some common reasons include:
- Fixing Blurry Faces: If someone in the group is blinking or their face is blurry, you can easily replace their face with a clearer one from another frame.
- Improving Expression: Sometimes, a person may not be smiling or showing the desired expression. Swapping their face with one where they are smiling can make the picture look better.
- Creating Fun and Creative Images: Face swapping is a popular trend for creating fun and humorous photos. You can experiment with different faces to add a bit of humor.
Tools for Changing Faces in a Group Photo
Changing faces in a group photo is relatively simple if you have the right tools. Several photo editing apps and software allow you to swap faces seamlessly. Some of the most popular tools include:
- Adobe Photoshop: Known for its powerful editing features, Photoshop is perfect for precise face swaps.
- GIMP: A free, open-source alternative to Photoshop with many of the same capabilities.
- Face Swap Apps: Apps like MSQRD, Snapchat, and MioCreate provide quick face-swapping features with minimal effort.
Step-by-Step Guide: How to Change Faces in a Group Photo
Step 1: Choose the Right Photo
Select the group photo where you want to change the face. Make sure the image is clear, high-quality, and well-lit. You’ll also need a second image where the face you want to use is clearly visible and not blurry.
Step 2: Open the Image in an Editing Tool
For this example, we’ll use Adobe Photoshop, but the steps are similar in most photo editing software. Open both the group photo and the photo with the face you want to use in Photoshop.
Step 3: Select the Face to Swap
Use the selection tool (like the Lasso Tool or the Magic Wand) to carefully select the face you want to swap. Make sure to include the edges of the face but avoid unnecessary background elements.
Step 4: Copy the Selected Face
Once the face is selected, press `Ctrl+C` (Windows) or `Cmd+C` (Mac) to copy the selection. Then, switch to the group photo and paste the copied face by pressing `Ctrl+V` (Windows) or `Cmd+V` (Mac).
Step 5: Position the New Face
Position the copied face over the face in the group photo that you want to replace. You can resize and rotate the face to ensure it fits perfectly with the original body. Use the transform tool (`Ctrl+T` or `Cmd+T`) to adjust the size and angle.
Step 6: Blend the Edges
To make the face swap or multiple face swap photo look natural, you’ll need to blend the edges of the new face with the original photo. Use a soft brush on the eraser tool to gently erase the harsh edges. You can also use the Clone Stamp tool to match skin tones and textures.
Step 7: Adjust Colors and Lighting
Adjust the brightness, contrast, and color balance of the new face so it matches the surrounding elements. This step is crucial to avoid a noticeable difference in skin tones or lighting between the face and the body.
Step 8: Final Touches
Zoom in and check for any noticeable imperfections. You can use the Healing Brush tool or the Spot Healing tool to fix small details. Once everything looks seamless, save the image in your desired format.
Multiple Face Swapping Tips
- Choose Similar Poses: For the best results, select a face with a similar pose and angle to the one in the group photo.
- Lighting Matters: Try to use a face with similar lighting to match the mood of the group photo. This makes the swap less noticeable.
- Be Subtle: Sometimes, less is more. A small, subtle face swap is often more effective than a dramatic change.
- Practice Makes Perfect: The more you practice, the better you’ll get at blending faces and making swaps look realistic.
Conclusion
Changing faces in a group photo is an easy way to improve your pictures, whether for fixing mistakes or having some fun. With the right tools and techniques, you can create flawless, eye-catching photos in no time. Remember to practice and experiment to achieve the best results. So go ahead, swap those faces, and make your group photos stand out!
Uncover More: Vistablogs


Post Comment