Bat Drawing: Easy Steps to Create a Cute Bat Art
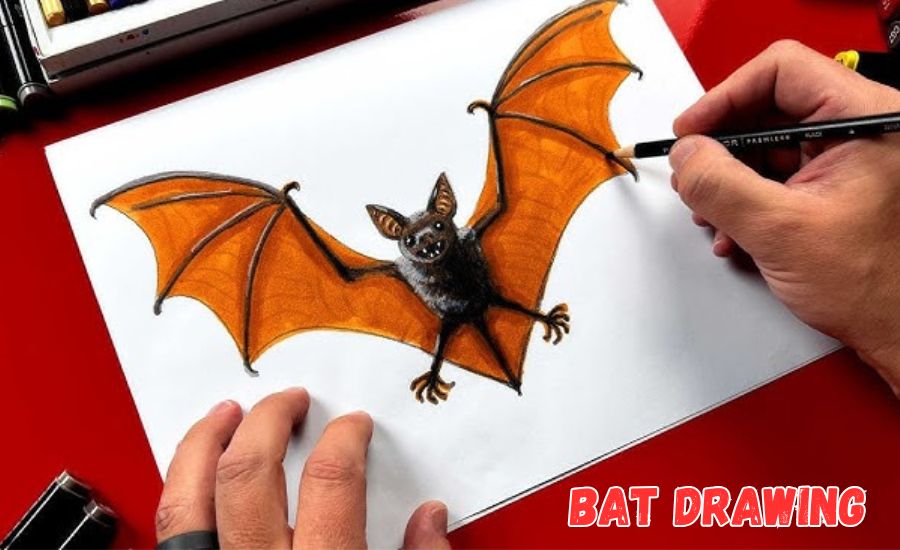
Bat drawing can be a fun and simple art project for everyone! Whether you’re new to drawing or love adding little creatures to your sketchbook, drawing a bat can be a great way to practice your skills. In this blog, we’ll explore easy steps to create a cute bat drawing that you’ll be proud of.
Bats are unique animals with big wings and small, round bodies. They might look tricky to draw, but with a few easy tips, you can make your own bat drawing in no time. Let’s get started on this spooky yet adorable drawing adventure!
What You Need to Start Your Bat Drawing
To start your bat drawing, you only need a few simple items. Begin with a clean sheet of paper, a pencil, and an eraser. These basic supplies will help you create smooth lines and make changes easily if needed. You might also want to have some colored pencils or markers to bring your bat drawing to life once you finish.
When you have your supplies ready, find a comfortable spot to draw. Make sure you have good lighting so you can see the details as you work. A well-lit area helps you focus on each step without straining your eyes. It’s also fun to have a calm and cozy workspace, which can make drawing feel even more enjoyable.
If you’re a beginner, it’s helpful to look at pictures of bats. Studying how bats look can guide you in drawing their wings, bodies, and faces more accurately. Keeping an image nearby can give you ideas as you start your own bat drawing.
Simple Steps to Begin a Bat Drawing
The first step in your bat drawing is to create a basic outline. Start by drawing a small oval for the bat’s head. Below the head, draw a larger oval or circle for the bat’s body. These two shapes form the base of your bat drawing and give you a starting point to build on.
Next, add two triangular shapes on top of the head for the bat’s ears. These don’t have to be perfect triangles; just simple, rounded shapes will work well. These details help make your bat look cute and friendly, giving it personality even in the early stages of the drawing.
After you’ve drawn the head, body, and ears, it’s time to sketch the bat’s wings. Draw long, curved lines on each side of the body to form the wings. Each wing should extend outward from the body and curve slightly upwards. With this simple outline, your bat drawing is starting to take shape.
Sketching the Outline for a Cute Bat Drawing
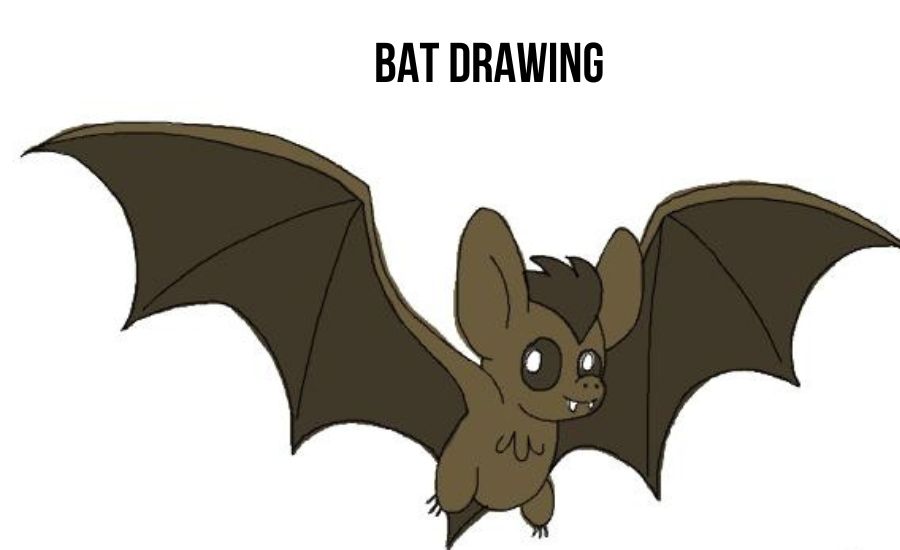
Creating a smooth outline is key for a cute bat drawing. Begin by lightly sketching around the shapes you’ve already made. Follow the basic head and body shapes, making the lines a bit more detailed. This will make your bat look less like simple shapes and more like a real, playful creature.
Work gently with your pencil, so you can adjust lines as needed. If you notice any part that doesn’t look right, use your eraser to fix it. A clean outline helps you feel more confident as you move on to the next steps. Remember, there’s no rush—taking your time with the outline will make your bat drawing look even better.
Once the outline is set, take a look at your work from a distance. This lets you see if the bat’s proportions look balanced. Adjust any parts that seem off, like making the wings slightly larger or the head rounder, to achieve the best look for your bat drawing.
How to Draw Bat Wings Easily
Drawing bat wings might seem tricky, but with a few simple steps, you can get them just right. Start by sketching a long, curved line extending from each side of the bat’s body. These lines form the top edges of the wings and give your bat drawing a sense of movement and energy.
Next, add curves or “waves” under each top line to create the lower part of the wings. Imagine the wings as if they’re made of soft fabric that stretches and folds. Adding these curves makes your bat look like it’s ready to fly, giving it a more realistic feel.
To finish, connect the top and bottom lines of the wings with small lines that look like bones. These lines don’t have to be exact; just a few will create the right effect. With these details, your bat wings look strong and ready to soar, making your bat drawing come alive!
Adding Details to Your Bat Drawing’s Face
Adding a cute face brings your bat drawing to life! Start by drawing two large, round eyes on the head oval. Big eyes make your bat look friendly and fun, perfect for a kid-friendly drawing. Add small circles inside the eyes for pupils, giving the bat a bright and curious expression.
Below the eyes, draw a tiny “V” shape to form the bat’s nose. This simple detail makes your bat look more realistic without being too complicated. The nose doesn’t need to be perfect; a small, curved line is enough to suggest a bat’s face structure.
Finally, add a big smile or a tiny open mouth to make your bat look happy. A little mouth gives character to your drawing, making it look playful or even a bit mischievous. These final touches to the face make your bat drawing look cute and approachable, like a friend you’d want to hang out with!
Creating a Friendly Bat Drawing for Halloween
Halloween is the perfect time to make a friendly bat drawing! To start, think about adding fun details to give your bat a warm, inviting look. Begin with big, round eyes that make the bat look cute and curious. Friendly eyes give the drawing a playful vibe, which is perfect for Halloween.
Next, draw a wide smile to make your bat look cheerful. This happy expression will make your bat feel friendly, not spooky. You can add tiny fangs for a Halloween touch, but keep them small and rounded, so they look more cute than scary. These details make your bat look ready for a Halloween party!
For a final touch, add simple accessories like a little witch hat or a mini pumpkin next to the bat. These small additions give your drawing a festive Halloween look without making it too spooky. With these steps, you’ll have a friendly bat drawing that’s perfect for Halloween fun.
How to Shade and Color Your Bat Drawing
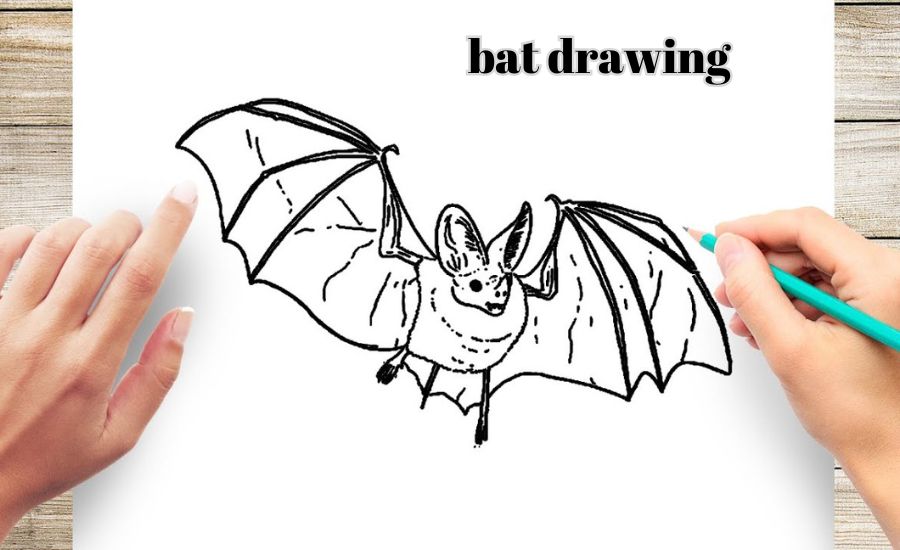
Shading and coloring your bat drawing can make it look even more exciting! Start by choosing a color for the bat’s body. Gray or dark purple are great choices, giving the bat a soft and warm appearance. Use light, gentle strokes with your pencil or crayon to add the main color.
After coloring, add some shading to make your bat look more three-dimensional. Shade around the edges of the wings, the belly, and near the face. This makes certain areas appear darker, which gives your bat a lifelike look. You can press lightly for soft shadows and a bit harder for darker areas.
Finally, add highlights to areas where light would naturally hit, like the top of the head or the center of the wings. A small white pencil or eraser can help you create these highlights, giving your bat a polished, realistic look. With shading and color, your bat drawing will pop right off the page!
Using Shapes to Make Your Bat Drawing Look Realistic
Shapes are key in creating a realistic bat drawing. Start by looking closely at a bat’s body structure: it’s a mix of circles, ovals, and triangles. For example, you can use an oval for the body and circles for the head and eyes, helping the bat look more lifelike.
Next, add triangles for the ears and wings. The wings should fan out from the bat’s body, with long, thin lines connecting to give them a “boned” look. Drawing these simple shapes keeps your drawing organized, making it easier to add details later. The use of triangles and curves helps the bat look natural, especially in the wings.
Finally, join the shapes smoothly with curved lines to finish the body and wings. Soft, rounded lines will make your bat look realistic yet friendly. Using these shapes keeps your drawing simple but gives it a true-to-life bat structure that looks fantastic on the page.
Fun Bat Drawing Ideas for Beginners
If you’re new to bat drawing, there are many fun ways to get started. Begin with a simple cartoon bat, using basic shapes to make it cute and easy. Try adding big eyes and a small smile to make your bat friendly. This approach is perfect for beginners, as it doesn’t require complex details.
Another fun idea is to create a bat with a background. You could draw a night sky with stars or even a full moon behind your bat. This adds a fun setting for your bat and gives your drawing a spooky yet friendly Halloween vibe. Backgrounds can make your drawing look complete and add to the story.
You can also experiment with different bat expressions. Try making a surprised bat with wide eyes or a sleepy bat with closed eyes. Playing with different facial expressions adds character to your bat drawing, making it fun and unique to your style.
How to Draw a Cartoon Bat Step-by-Step
Drawing a cartoon bat is simple and fun with a few easy steps. Start by drawing a small circle for the head and a larger oval for the body. These shapes form the foundation of your cartoon bat and give it a playful, rounded look.
Next, add two large, round eyes in the center of the head. Big eyes give your cartoon bat a cute and friendly expression. Below the eyes, draw a small “U” shape for the mouth, adding a tiny tooth if you like for an extra touch of charm.
To finish, draw wings on each side of the body. Simple curved lines with tiny “fingers” create the classic cartoon bat wing look. This step-by-step approach makes it easy to draw a cartoon bat that’s adorable and perfect for kids and beginners.
Tips for Adding Shadows to Your Bat Drawing
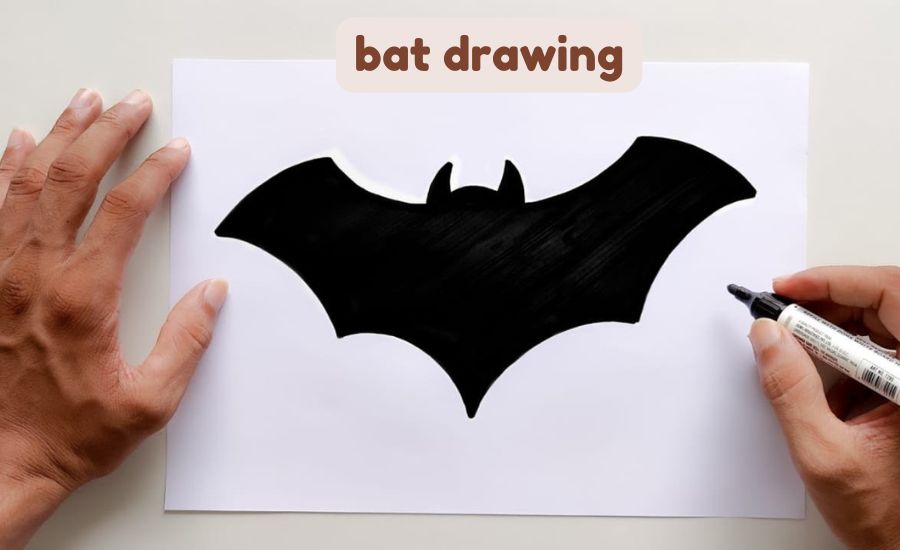
Adding shadows can give your bat drawing a more realistic and three-dimensional look. Here are four helpful tips to make your shadows look natural:
Decide on a Light Source
First, imagine where the light is coming from. For example, if the light is shining from the left, shadows should appear on the bat’s right side. Knowing the direction of your light source helps place shadows in the right spots, making your bat look more realistic.
Use Light Pencil Strokes
Start by shading with light pencil strokes. This lets you add soft shadows without making the drawing look too dark. You can always go over areas with more strokes if you need a darker shadow, but light strokes help keep the shading soft and natural.
Add Shadows Under the Wings and Body
Areas like under the wings and near the edges of the bat’s body should have the darkest shadows. These parts are usually away from direct light, so shading them makes the bat look as if it’s truly sitting in three-dimensional space. Darker shadows here give the drawing depth.
Blend the Shadows Gently
Use your finger, a blending tool, or a soft eraser to blend shadows. Blending makes the shadows look smooth, so they appear as a natural part of the drawing. Smooth transitions between light and dark areas create a softer and more professional-looking shadow effect.
These tips will help you add depth and life to your bat drawing!
Making Your Bat Drawing Stand Out with Colors
Color can make your bat drawing stand out and give it a fun personality! Begin by picking a base color, like gray or black, for a realistic bat. If you’re aiming for a cartoon style, you can use bright colors like purple or blue, which make the bat more playful and eye-catching.
After coloring the body, add a lighter shade inside the bat’s ears and wings. This small detail adds contrast and makes the bat look friendlier. You can also add tiny pink circles on the cheeks to make the bat appear cute and friendly, which is perfect for a cartoon-style drawing.
To complete your drawing, outline it with a darker color, like black, to make the edges sharp and defined. Outlining helps your bat stand out on the page, making it the star of your drawing. With these color tips, your bat drawing will be bright, fun, and full of character!
Bat Drawing for Kids: A Fun Art Project
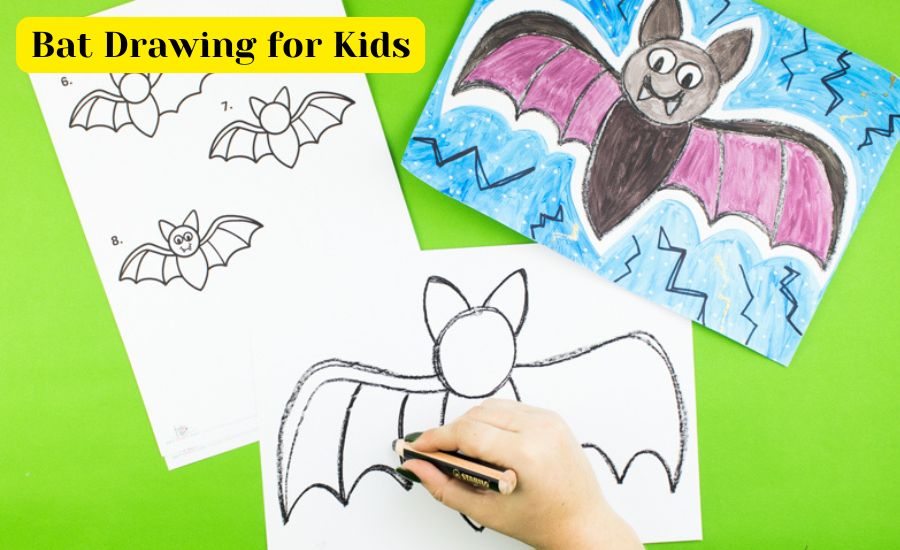
Bat drawing is a fantastic art project for kids! To start, keep the steps simple and fun by using basic shapes like circles and triangles. This makes it easy for kids to draw a cute bat without getting frustrated. A circle for the head and an oval for the body are perfect.
Once the shapes are in place, kids can add fun details like big eyes and tiny fangs to make the bat look friendly. A wide smile gives the bat personality and makes it look more inviting. Encouraging kids to add their own touches, like a hat or a bow, makes the drawing more personal.
When it’s time to color, let kids choose their favorite shades. From classic black to bright purple, any color can make a bat look amazing. Coloring adds excitement to the project, and kids feel proud of their unique bat drawing when it’s all done.
Conclusion
Drawing a bat can be a fun and easy way to get creative! By using simple shapes and following easy steps, anyone can make a cute or cool bat drawing. Adding details like big eyes, friendly smiles, and colorful wings brings your bat to life and makes it unique. You don’t need a lot of fancy tools or experience; just a pencil, paper, and a bit of imagination are all it takes to create something amazing.
Whether you’re drawing for Halloween or just for fun, bat drawings let you practice new art skills while having a great time. Each drawing can be different, with special touches that make it your own. Remember, the best part is enjoying the process, not just the final picture. So grab your supplies, start drawing, and have fun making your very own bat!
Follow Up: Discovering-jeinz-macias
FAQs
Q: What tools do I need for a bat drawing?
A: You only need paper, a pencil, and an eraser to start. Colored pencils or markers are great if you want to add color!
Q: How can I make my bat drawing look realistic?
A: Use basic shapes to outline the body, then add shading and small details like ears and wing lines to give it depth.
Q: Is bat drawing suitable for beginners?
A: Yes! Starting with simple shapes like circles and triangles makes bat drawing easy, even for beginners.
Q: How can I make my bat drawing look cute?
A: Try adding big eyes, a small smile, and a round face. These features give your bat a friendly, cartoonish look.
Q: What colors work best for a bat drawing?
A: Traditional colors like gray, black, or purple work well. But feel free to use any color you like, especially for cartoon bats!
Q: Can kids make a bat drawing easily?
A: Absolutely! Kids can draw a bat by starting with simple shapes, and they can personalize it with fun colors and details.
Q: How do I add shading to my bat drawing?
A: Start with light pencil strokes in areas that would have shadows, like under the wings. Blend lightly for a natural look.


Post Comment